Getting started
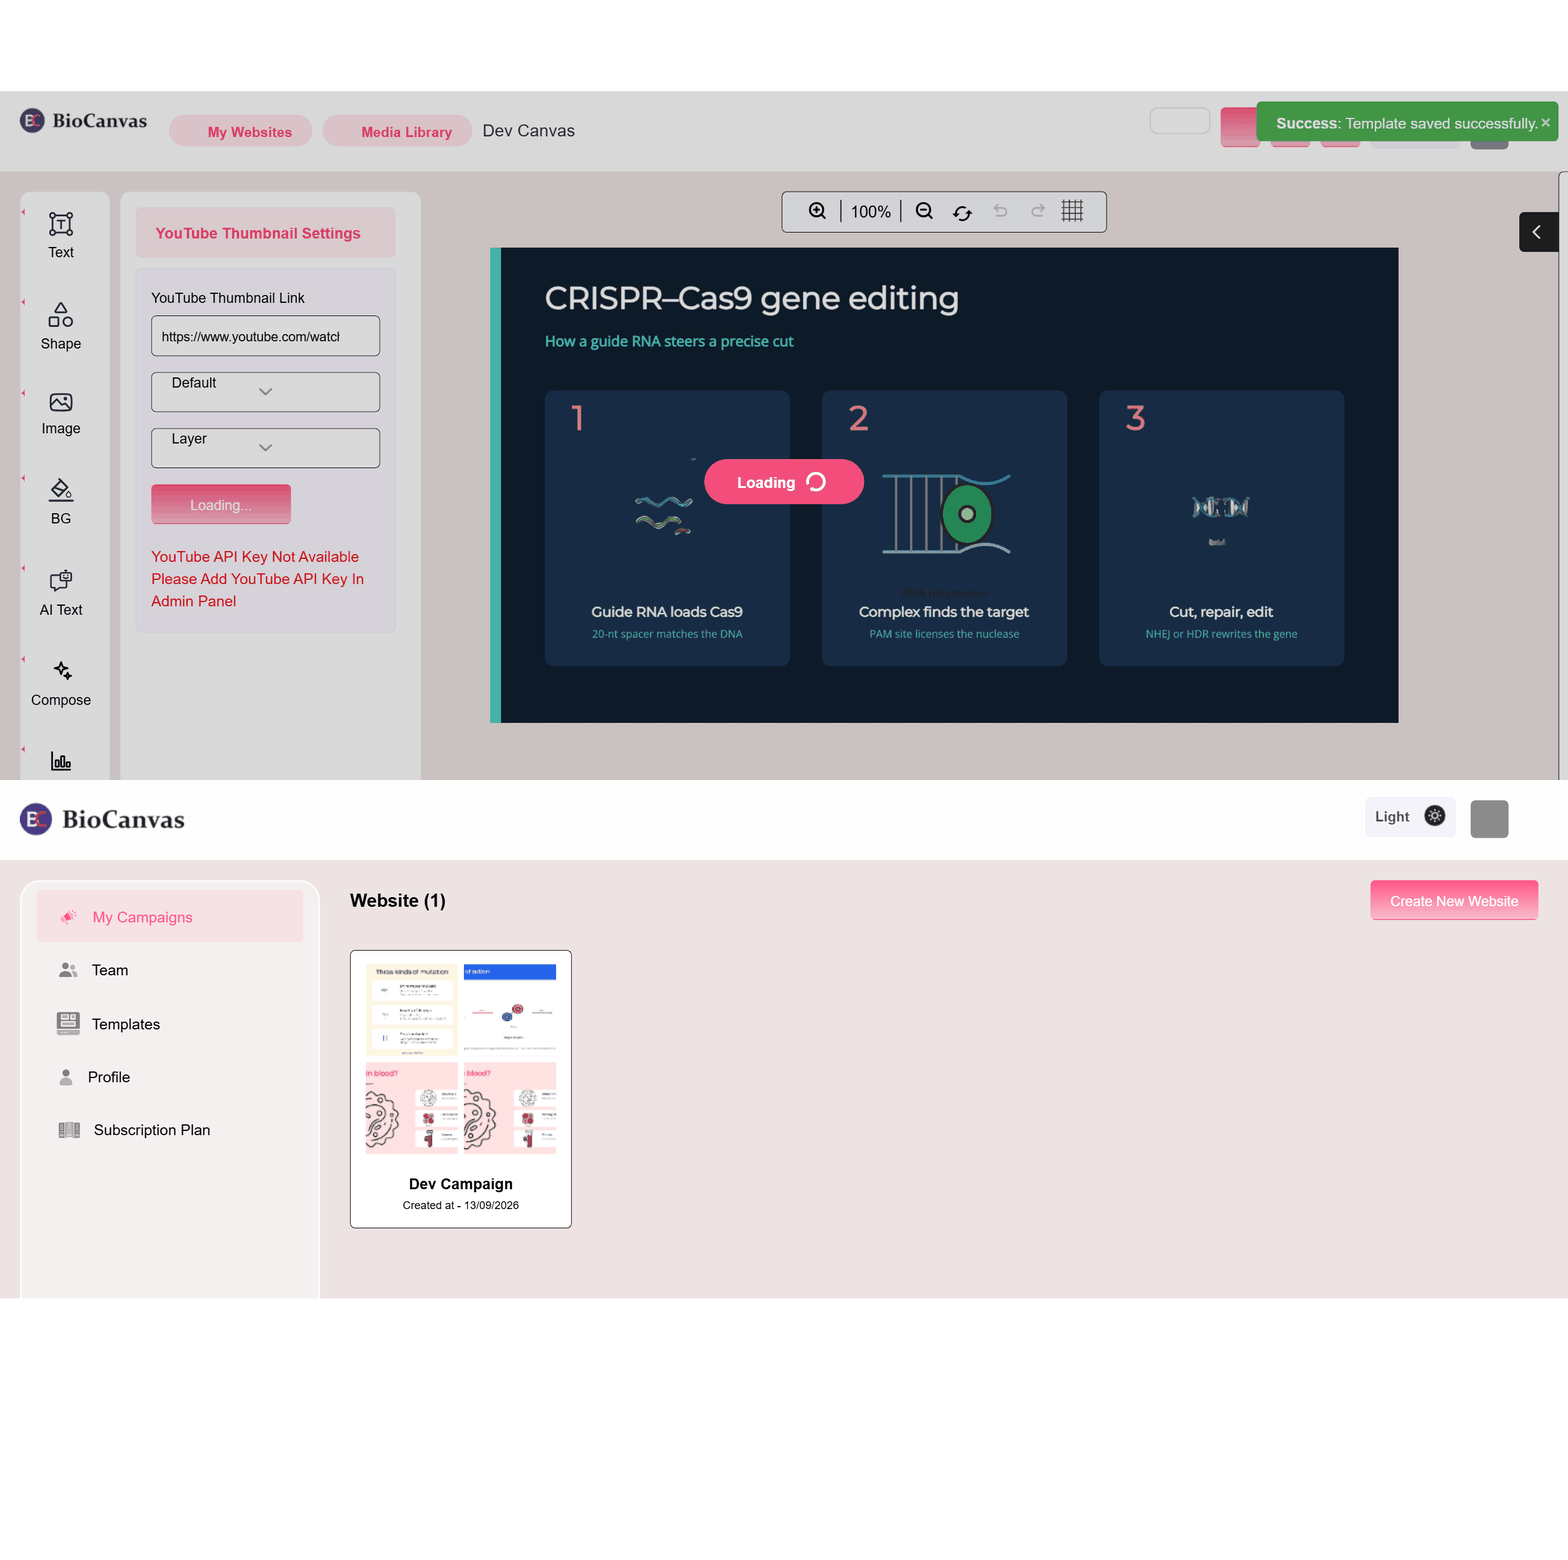
From My Websites (your dashboard), start a blank canvas or open an existing project. Inside the editor, every tool lives in the left-hand toolbar; its options open in the panel directly beside it. The canvas in the middle is your figure — everything you place on it stays a normal, selectable, editable object, nothing is flattened until you export.
First time in the editor? A short on-screen tour walks through the main tools automatically. You can take it again any time from the "?" icon next to Save in the header.
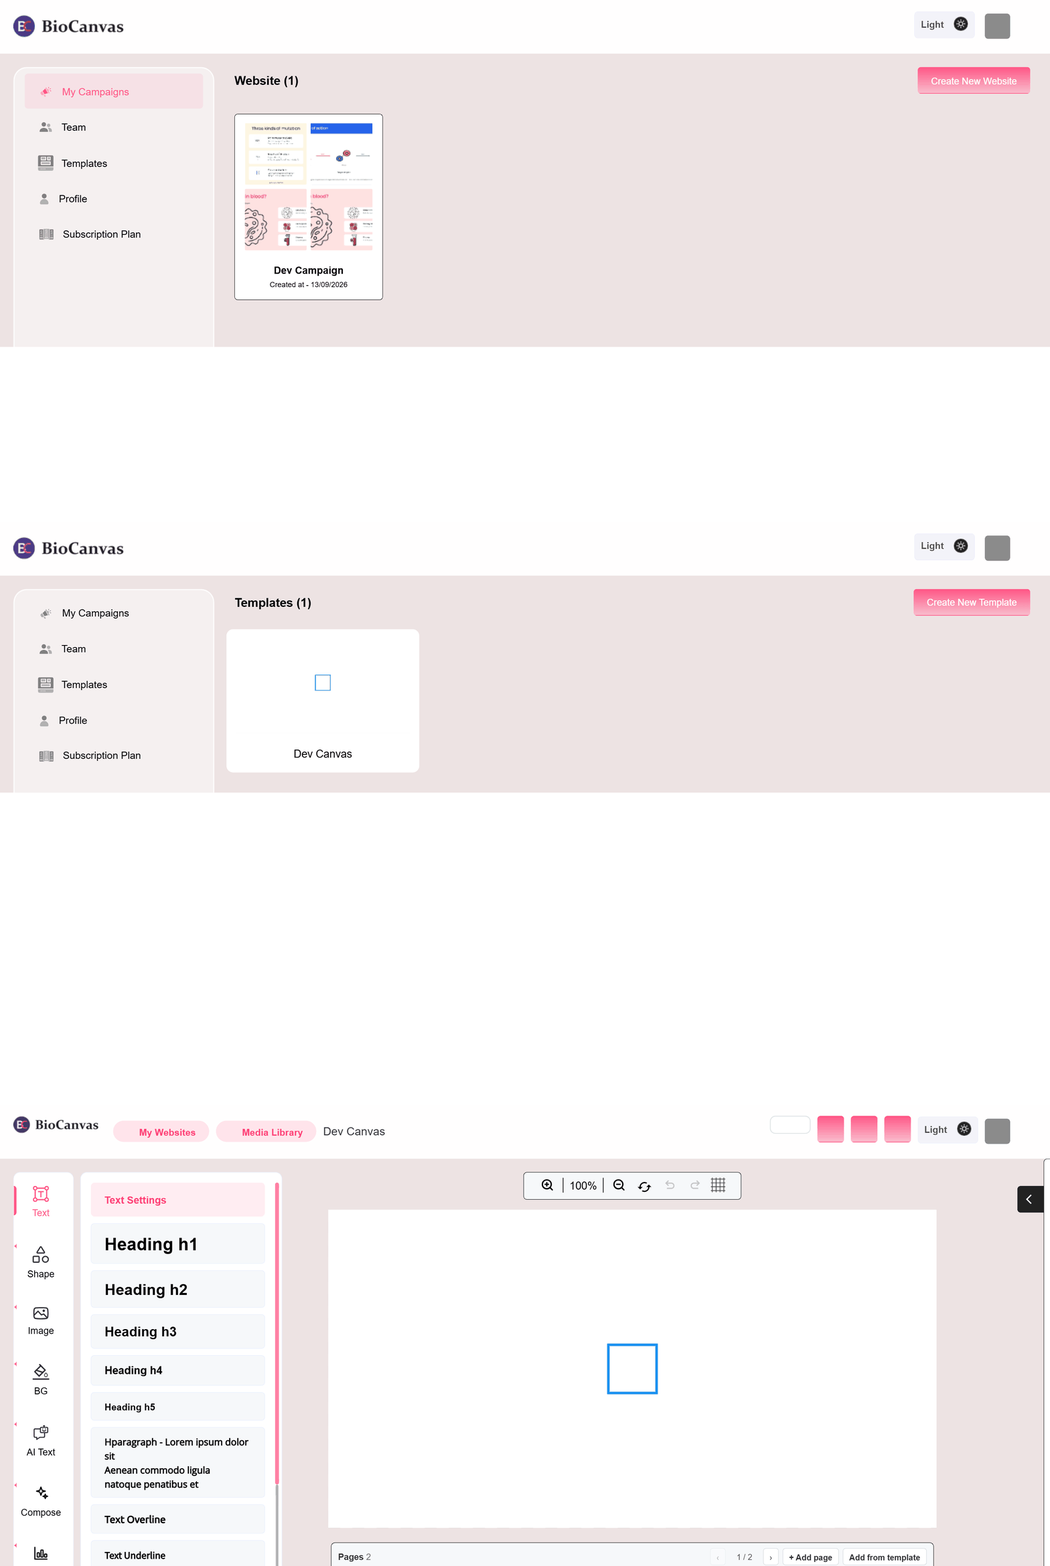
Templates
Use Add from template in the Pages panel to start from a pre-built layout — journal figure panels, poster layouts, slide decks, CONSORT-style trial flows, mechanism diagrams, and more. Search or filter by category, then pick one to add it as a new page. A template pre-fills structure and placeholders; every element in it is still fully editable, exactly like something you built by hand.
Text
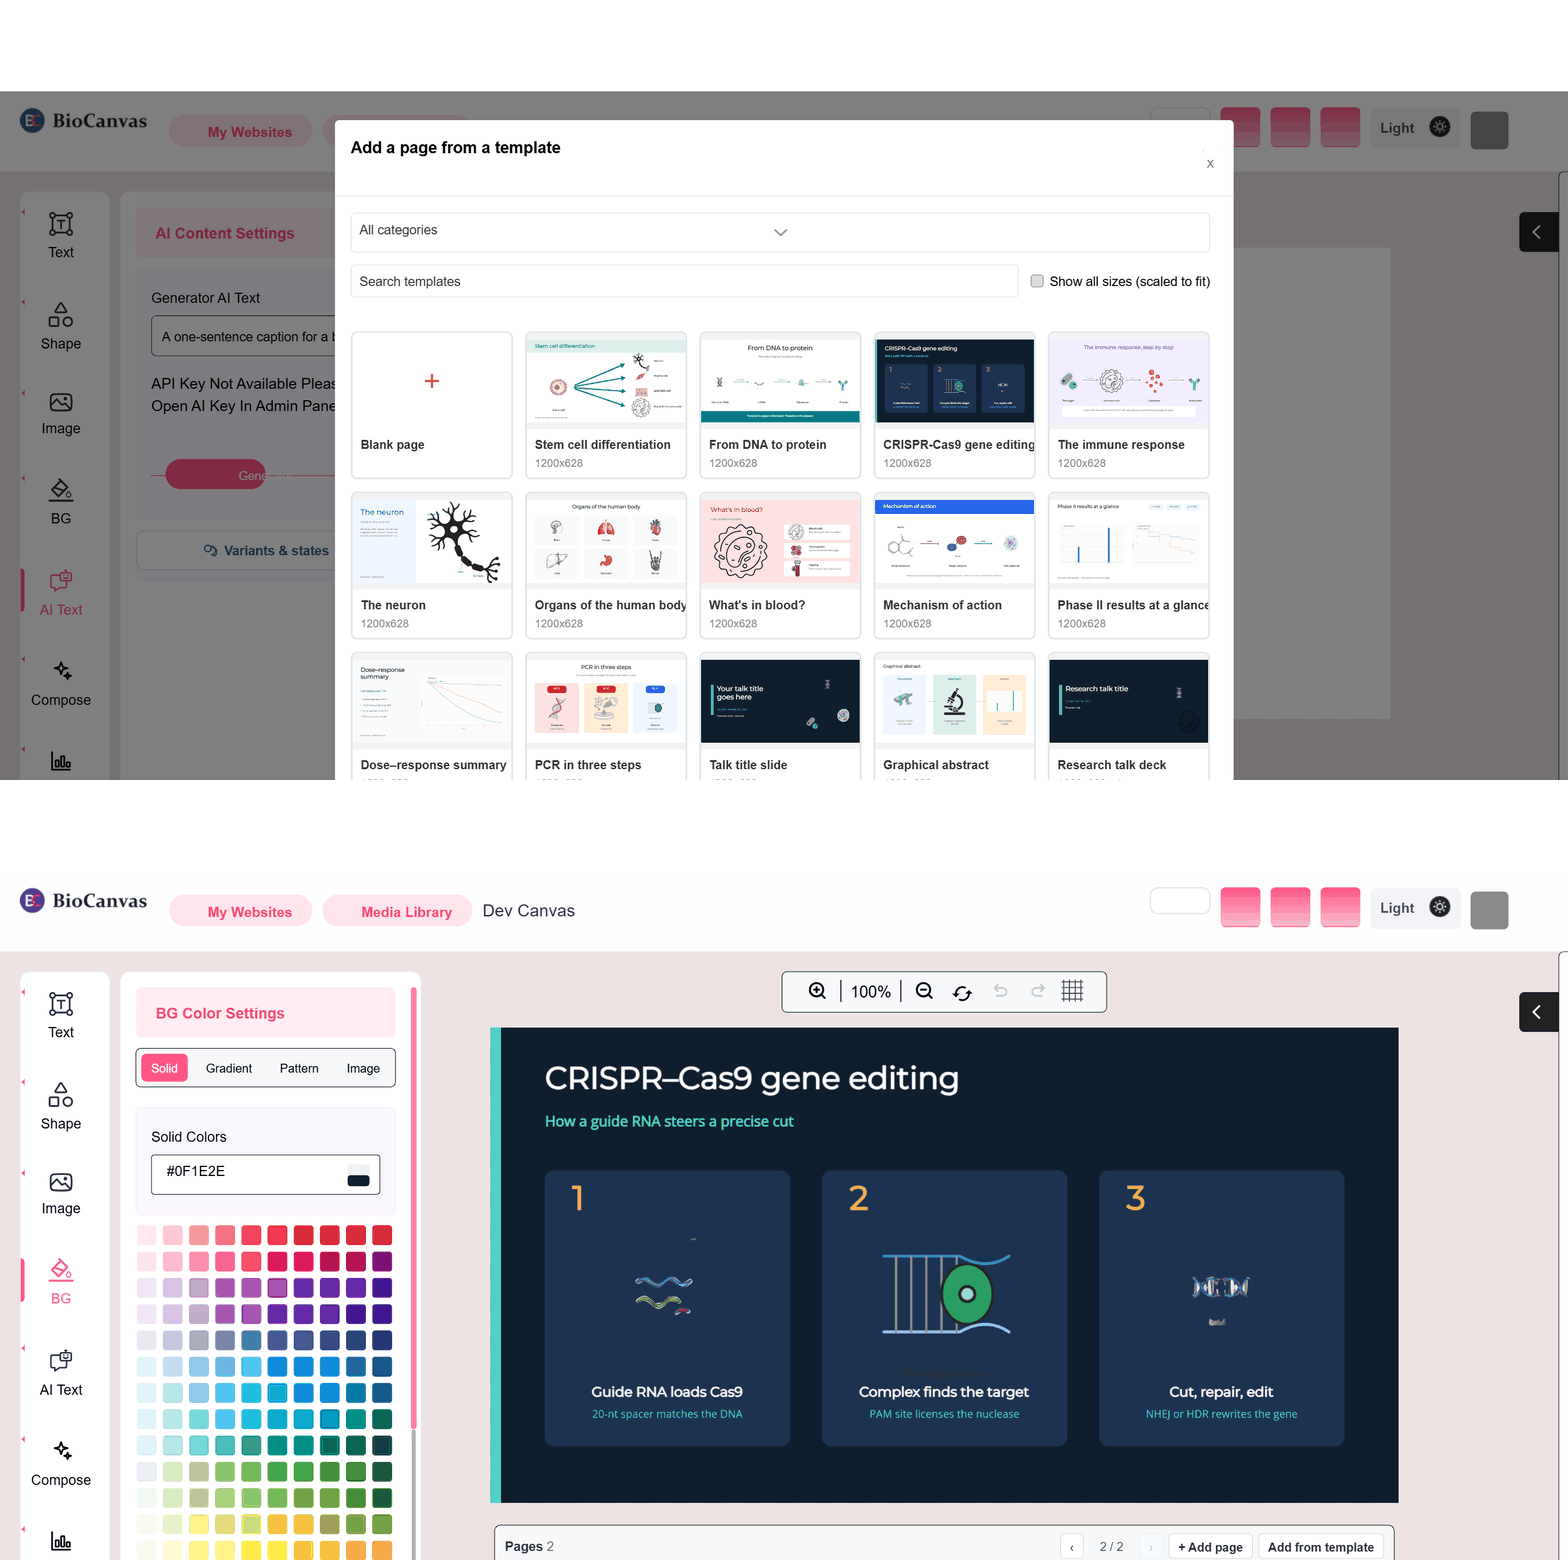
Add headings (H1–H5), body paragraphs, or an overline label. Pick font, size, weight, alignment and colour from the same panel. Double-click any text on the canvas to edit it in place.
Shape
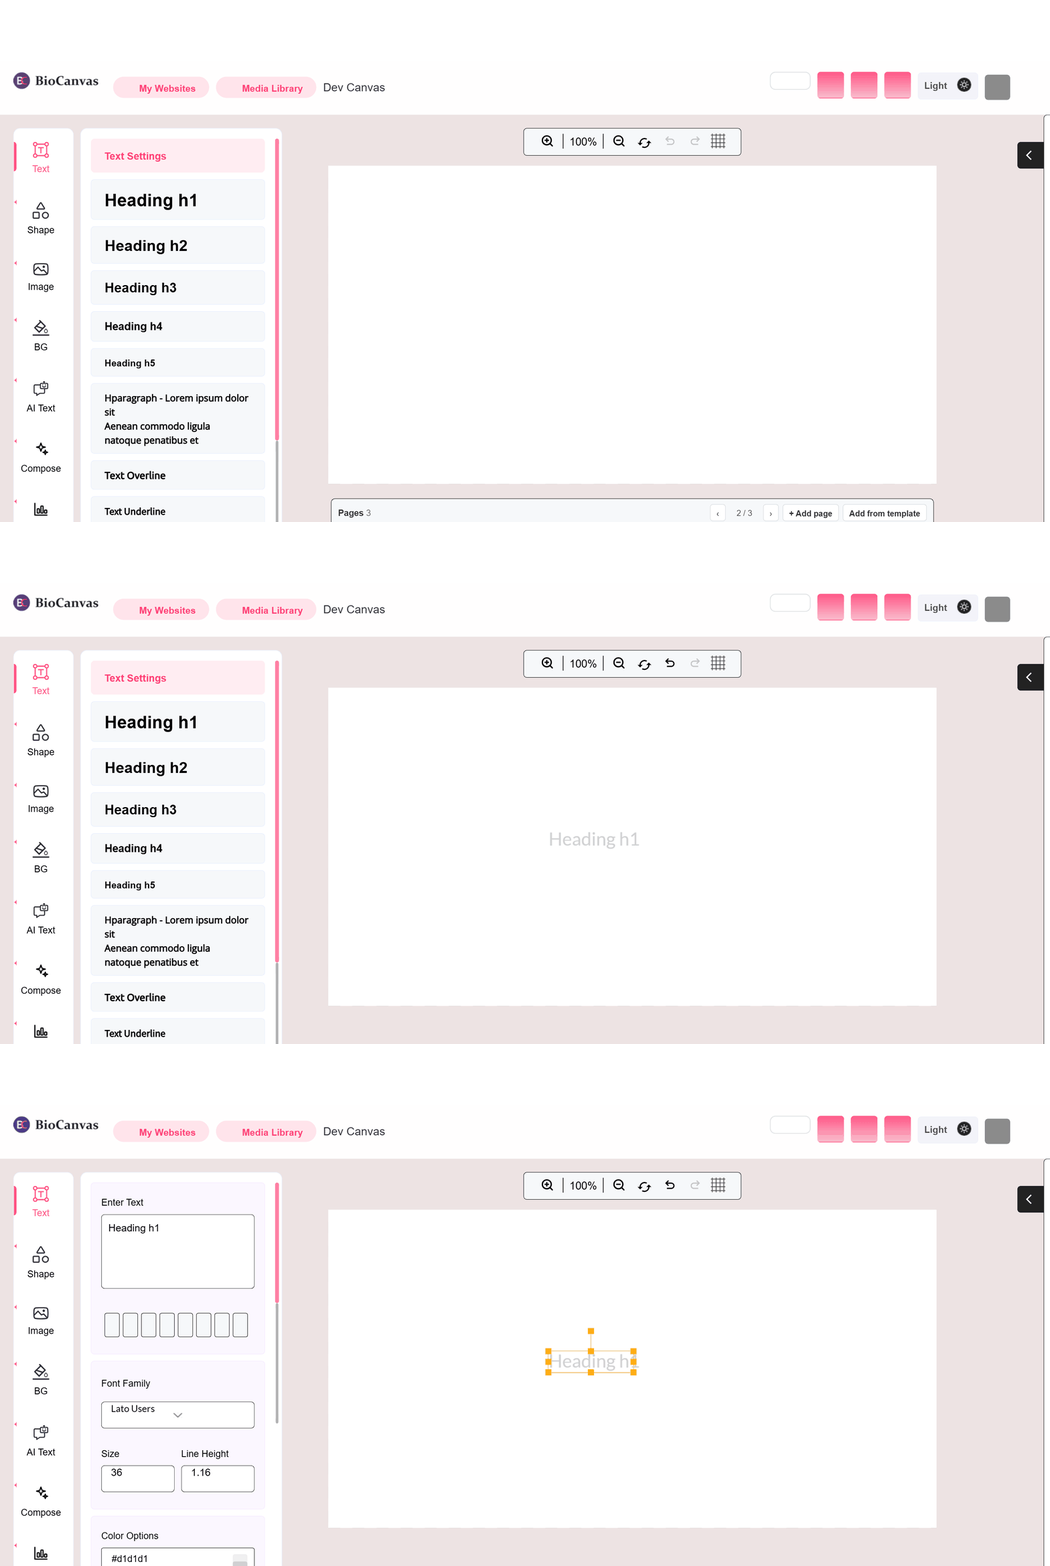
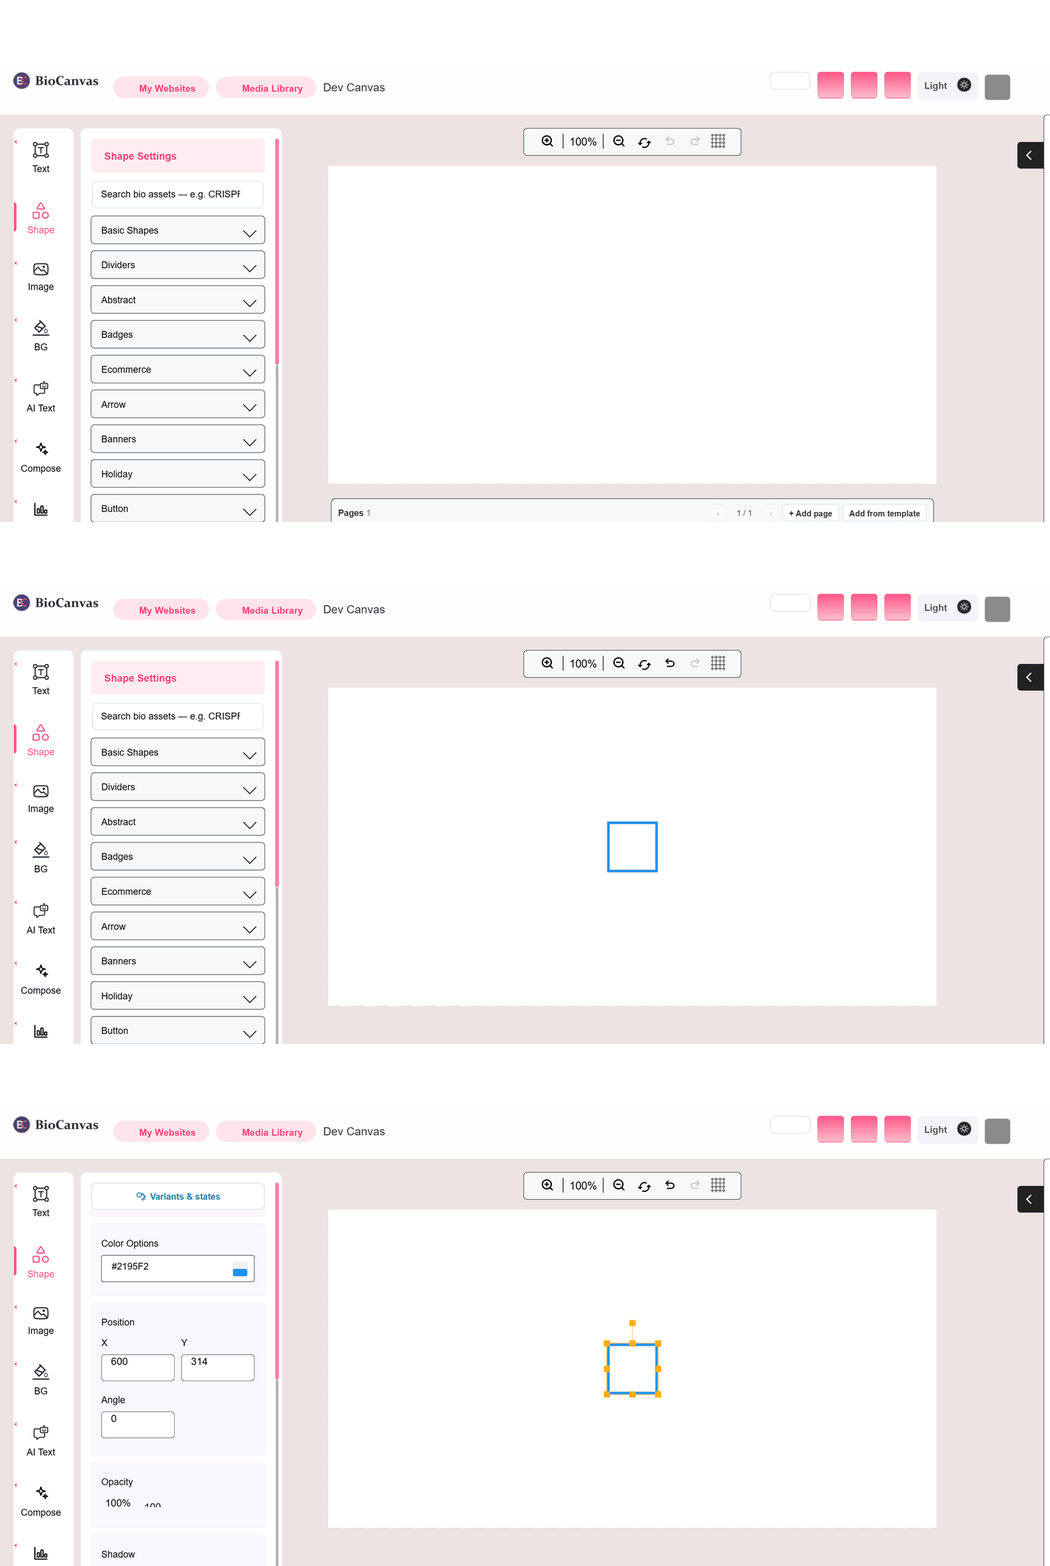
Search the reviewed bio-asset library by keyword, or browse basic shapes and connector lines by category — rectangles, dividers, arrows — for boxes, brackets, and annotation lines around your figure's real content. Every shape placed is a normal, editable object: reposition it, recolour it, or open its full property panel.
Image
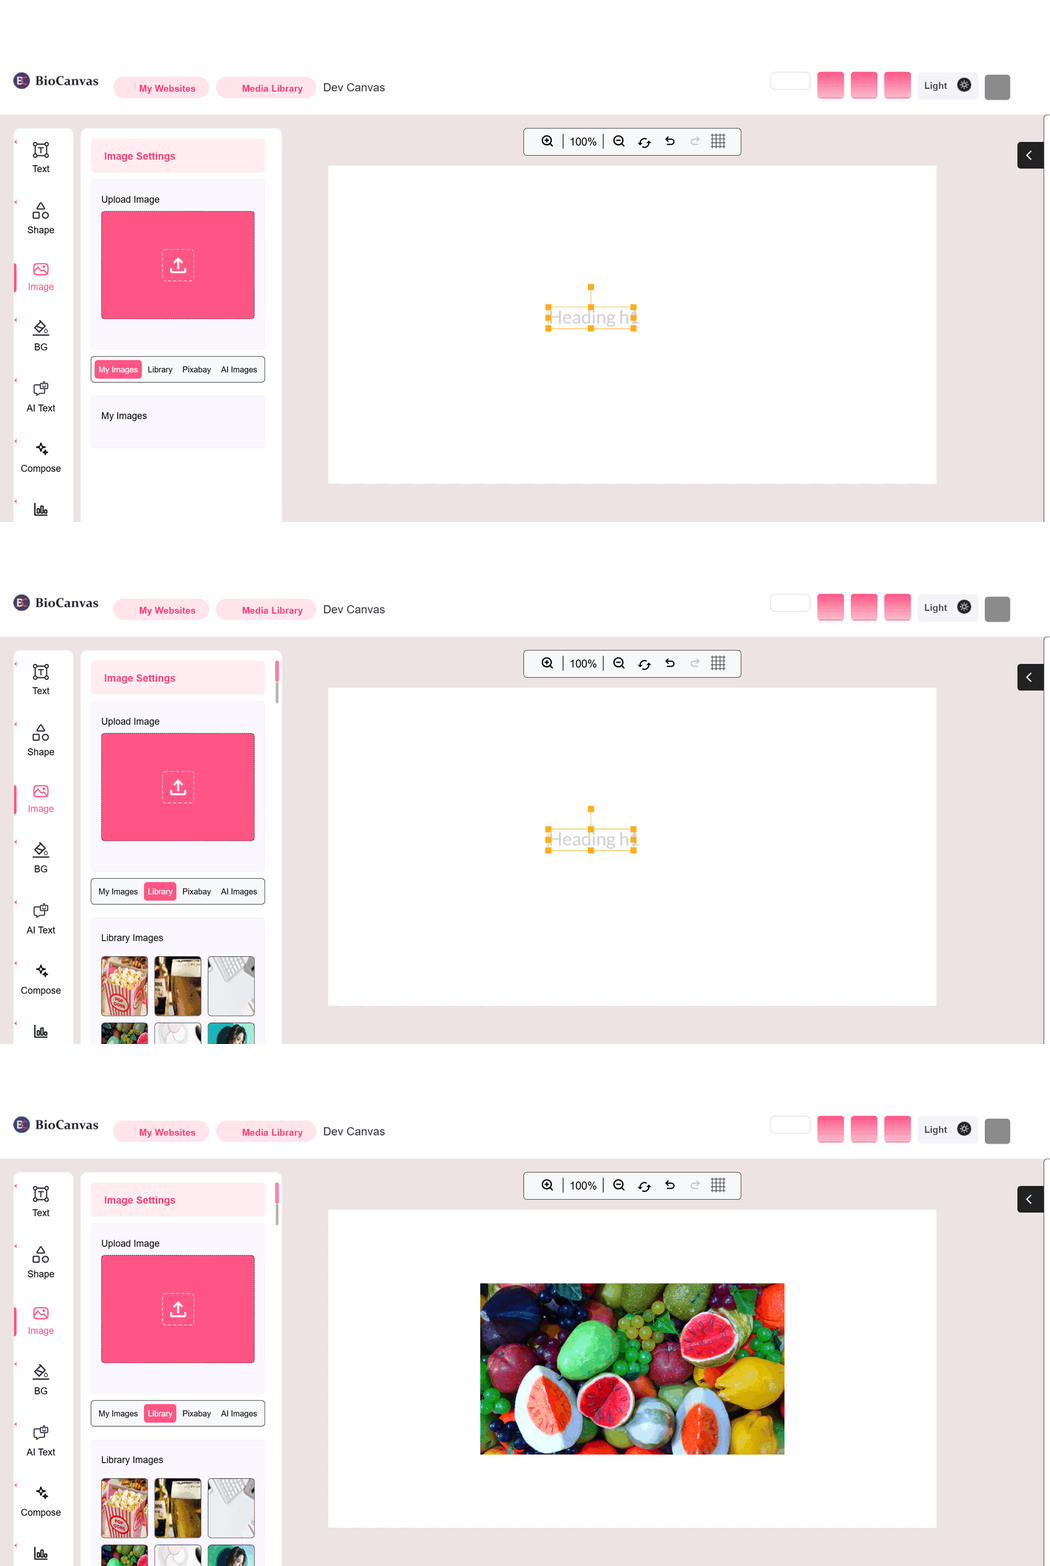
Upload your own photo, screenshot, or chart export, or generate an image with AI from a text prompt. Uploaded images can be cropped, masked and layered like anything else on the canvas.
Background
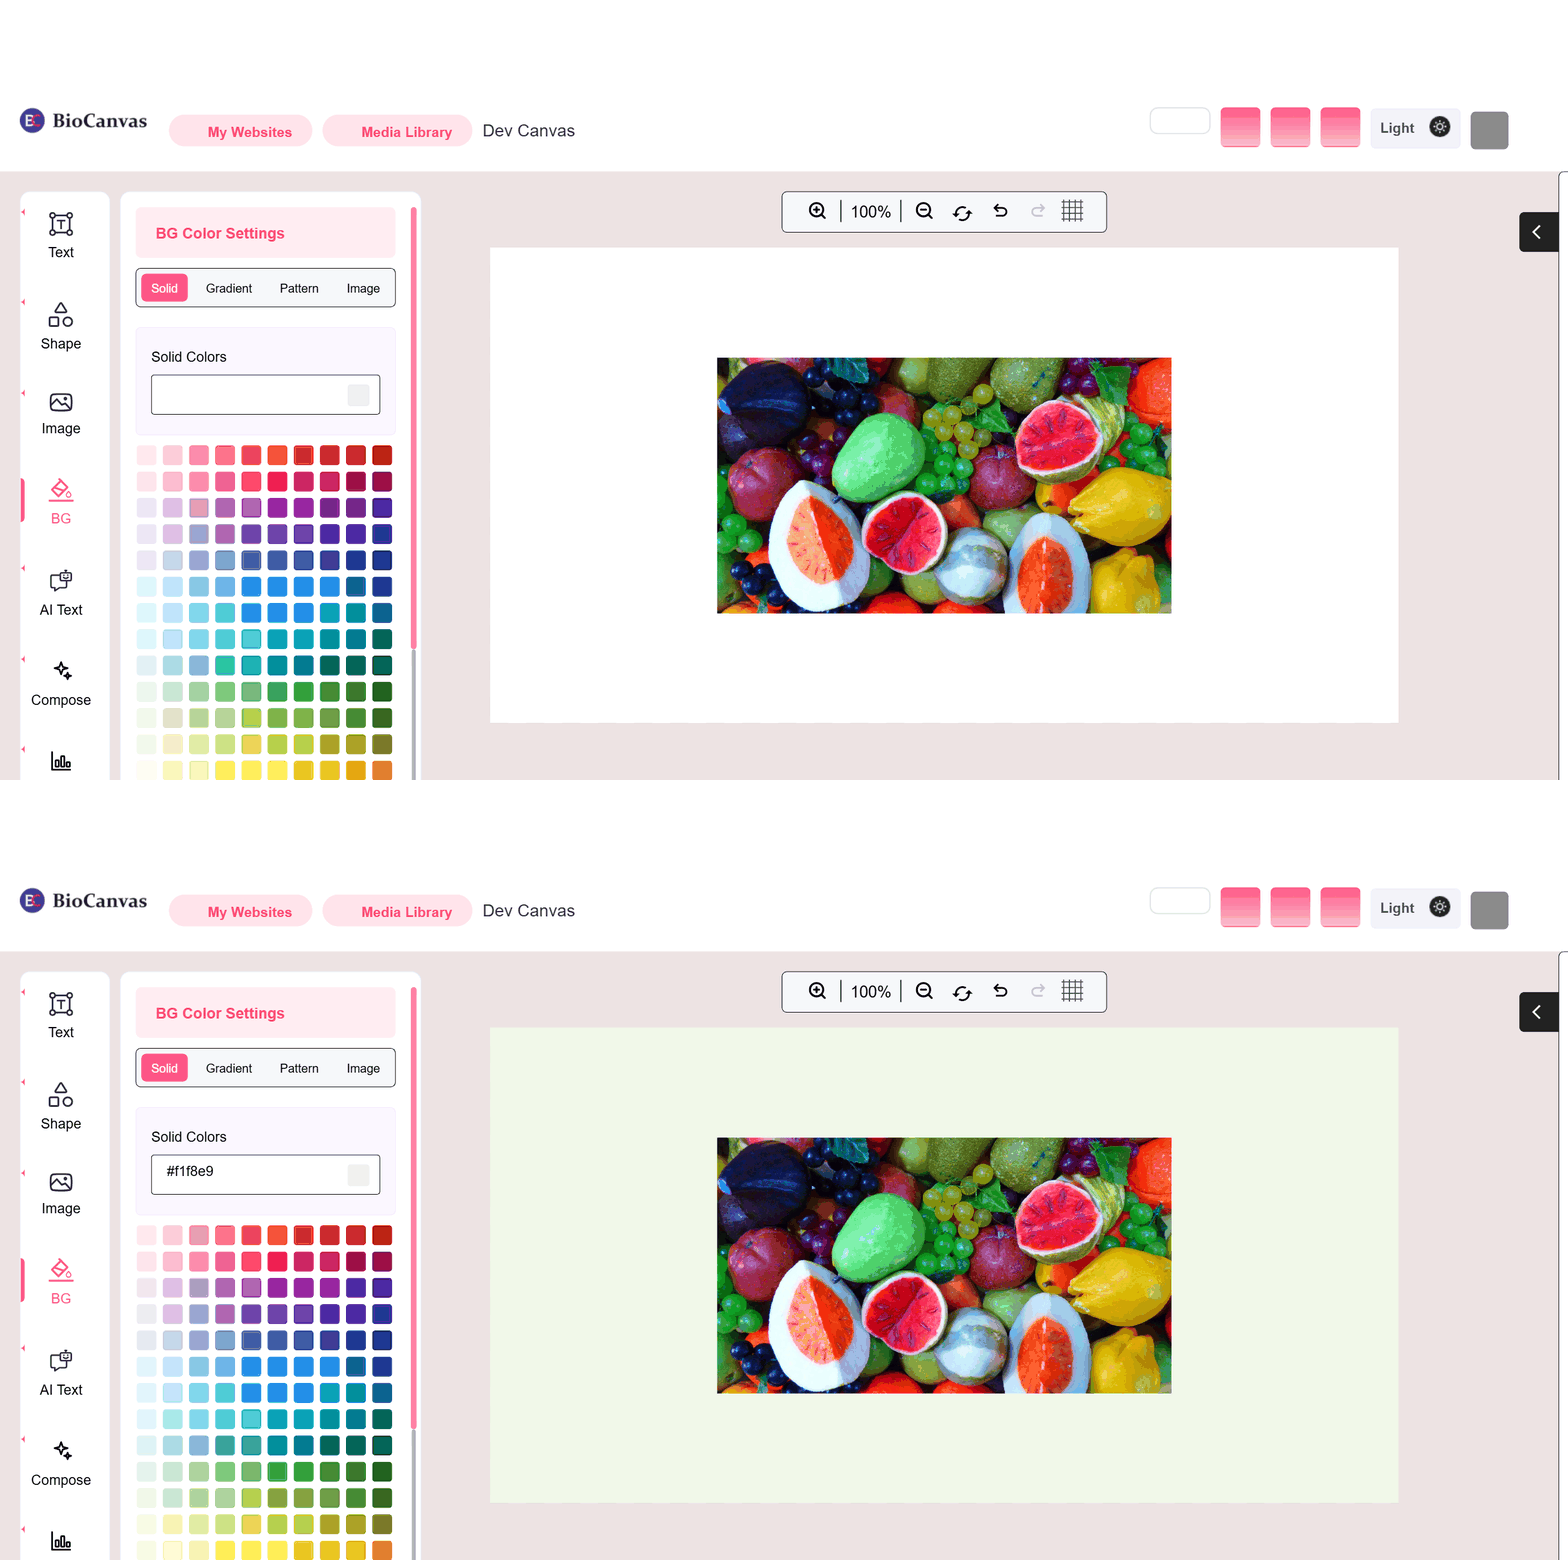
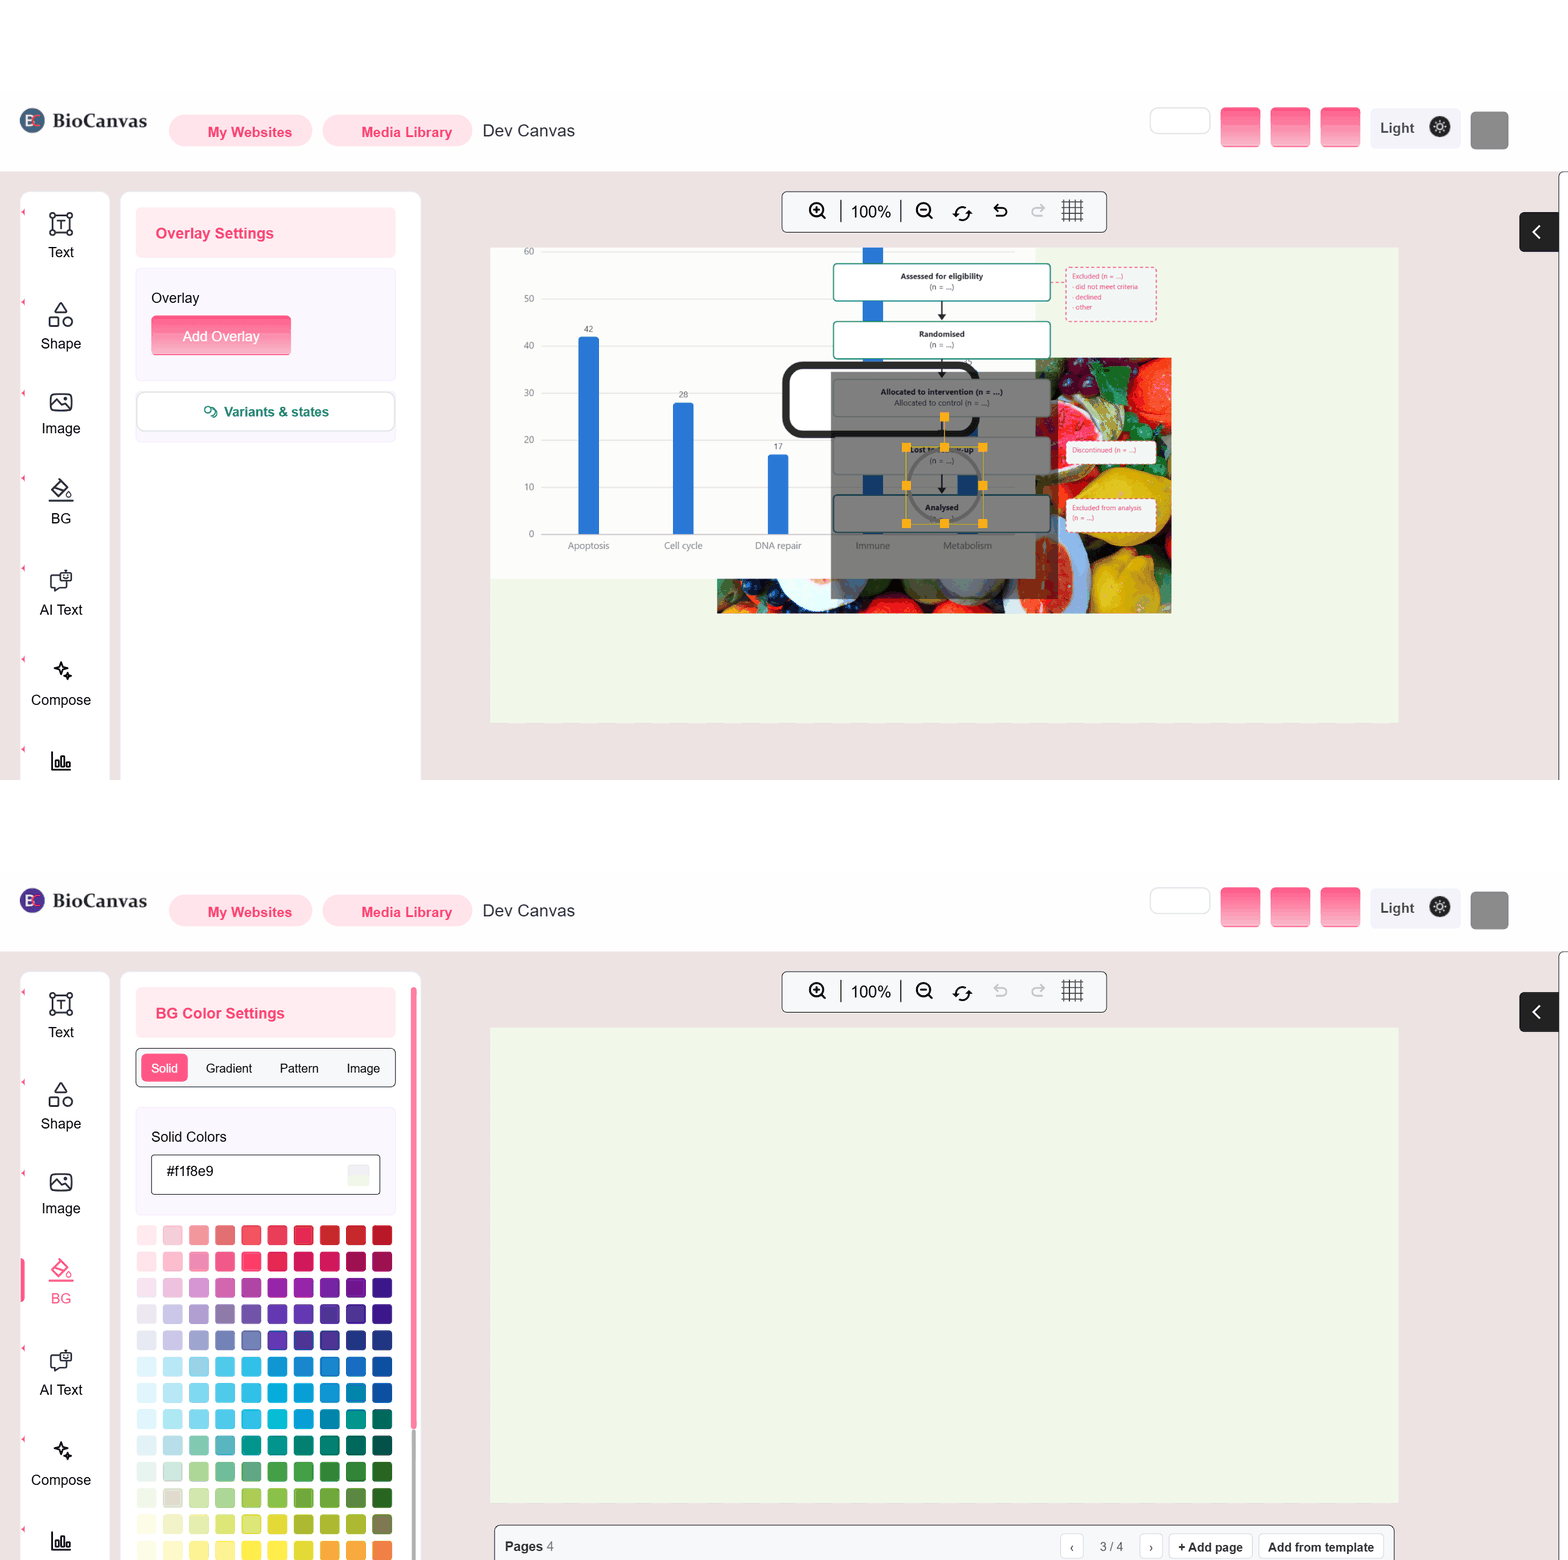
Set the canvas background to a solid colour, gradient, or pattern. Background changes apply per page, so a multi-page figure can mix, for example, a white journal panel with a dark title page.
AI Text
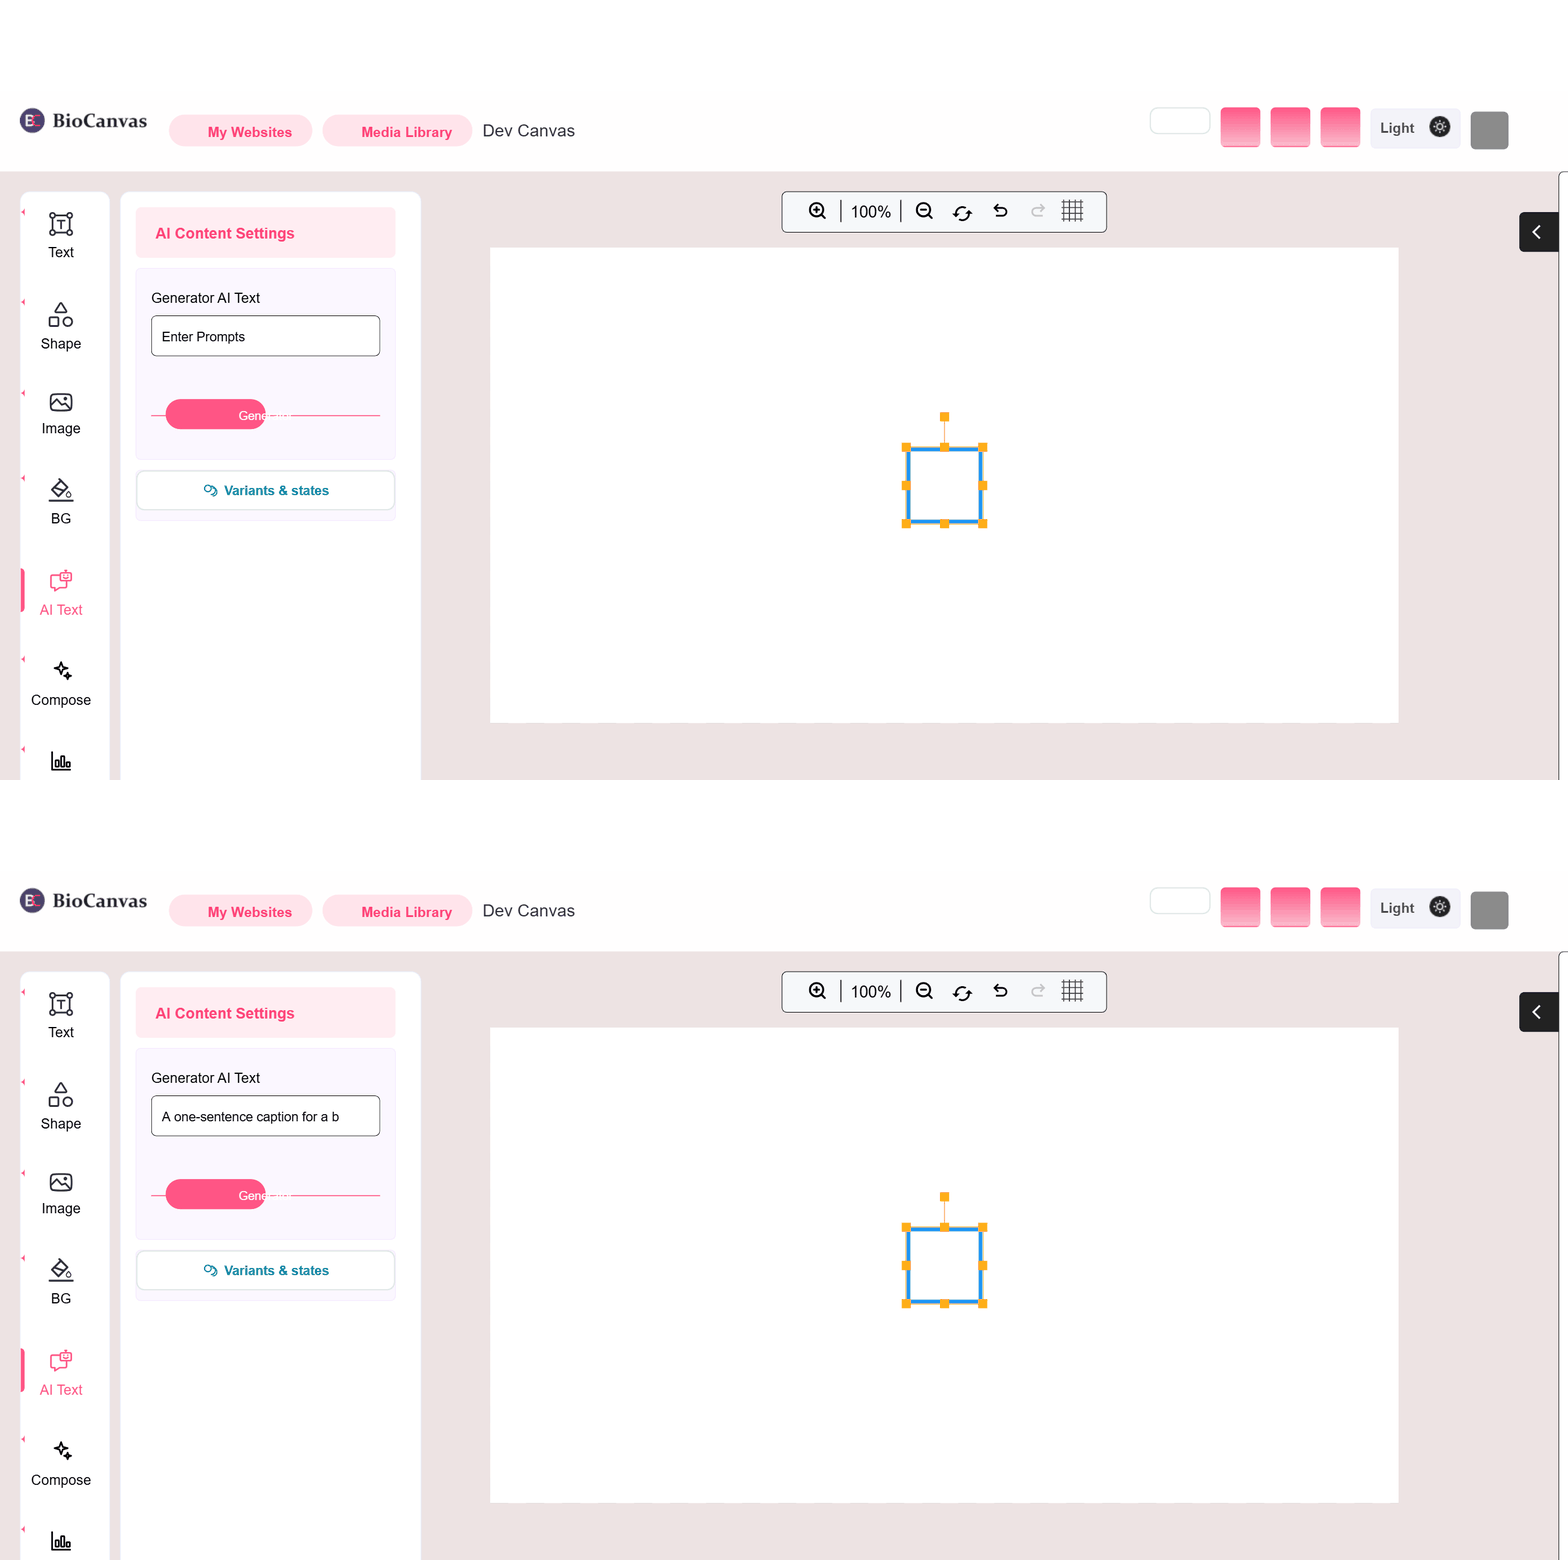
Describe what you need in a single prompt — a figure caption, a panel label, a methods sentence — and get drafted text back, ready to drop onto the canvas and edit. Requires an OpenAI key configured by your workspace admin; without one, the panel tells you so rather than failing silently.
Compose
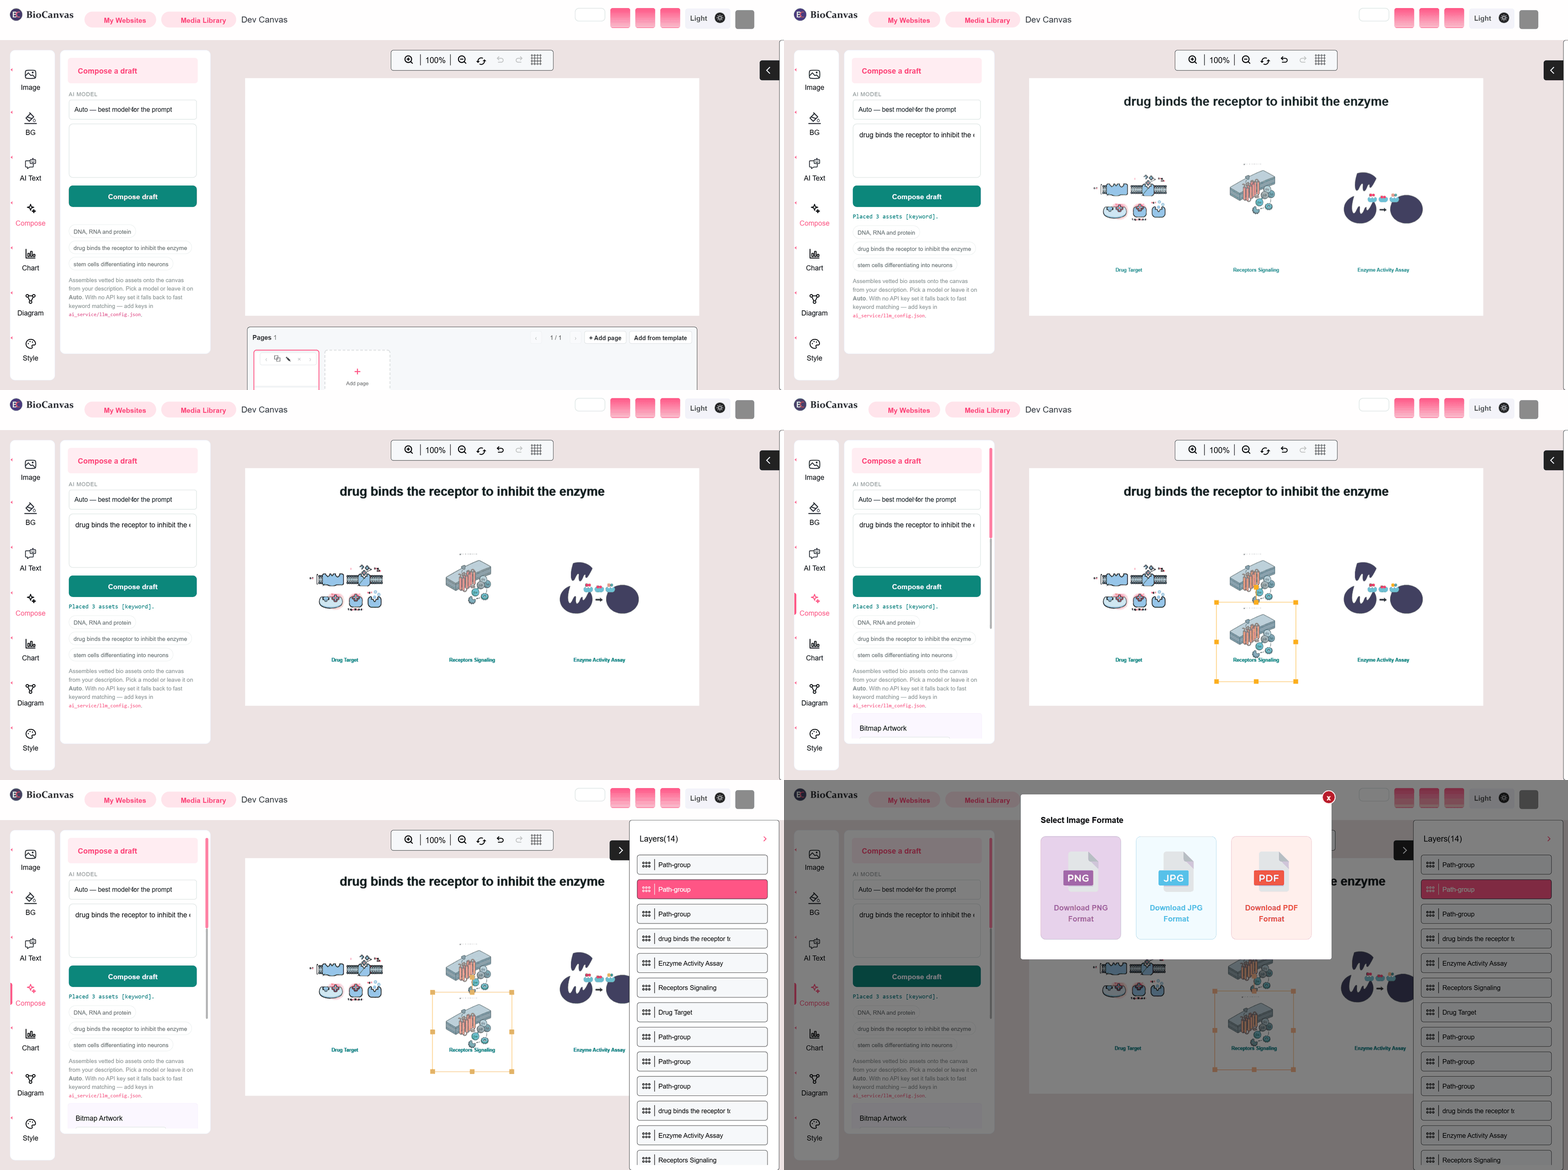
The fastest way to start a figure. Instead of searching the illustration library piece by piece, describe the biology in plain language — drug binds the receptor to inhibit the enzyme, stem cells differentiating into neurons — and Compose assembles matching, correctly labelled illustration groups onto the canvas in one step.
Nothing here is generated pixel-by-pixel: Compose is a keyword-and-model-driven match against the same reviewed illustration catalogue you'd search manually. Every placed group is a normal, selectable, draggable object afterwards — move it, recolour it, relabel it, or delete pieces you don't need.
- Pick a model from the AI model dropdown, or leave it on Auto.
- No API key configured falls back to fast keyword matching — still useful, just less nuanced on ambiguous prompts.
- Use the suggestion chips for a quick example, or write your own description naming the actual entities involved.
Chart
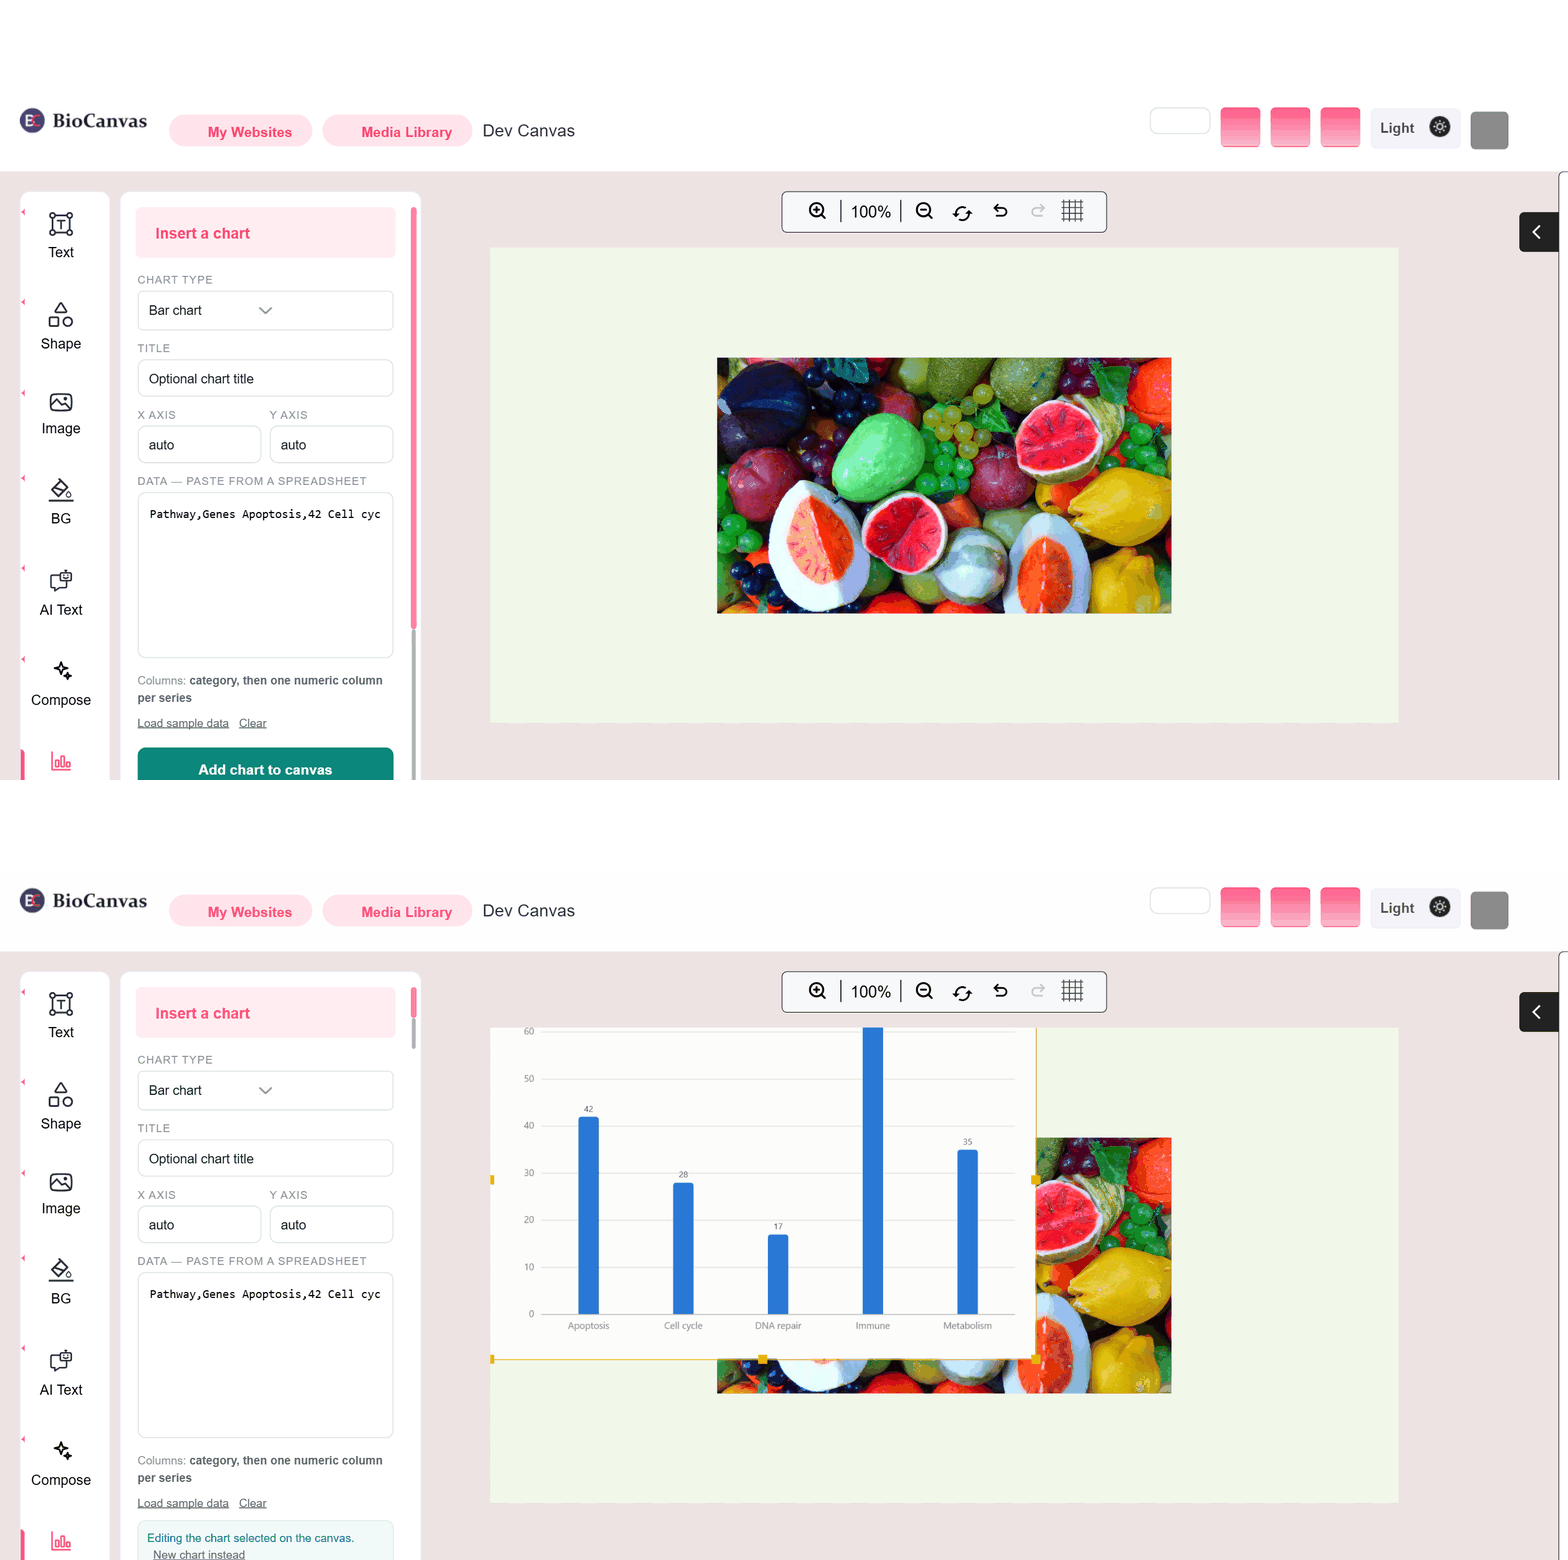
Paste a data table (or type one in) and pick a chart type — bar, grouped bar, line, scatter and more. The result is a real vector chart, not an image: axis labels, colours, and error bars stay editable after it's placed.
Diagram
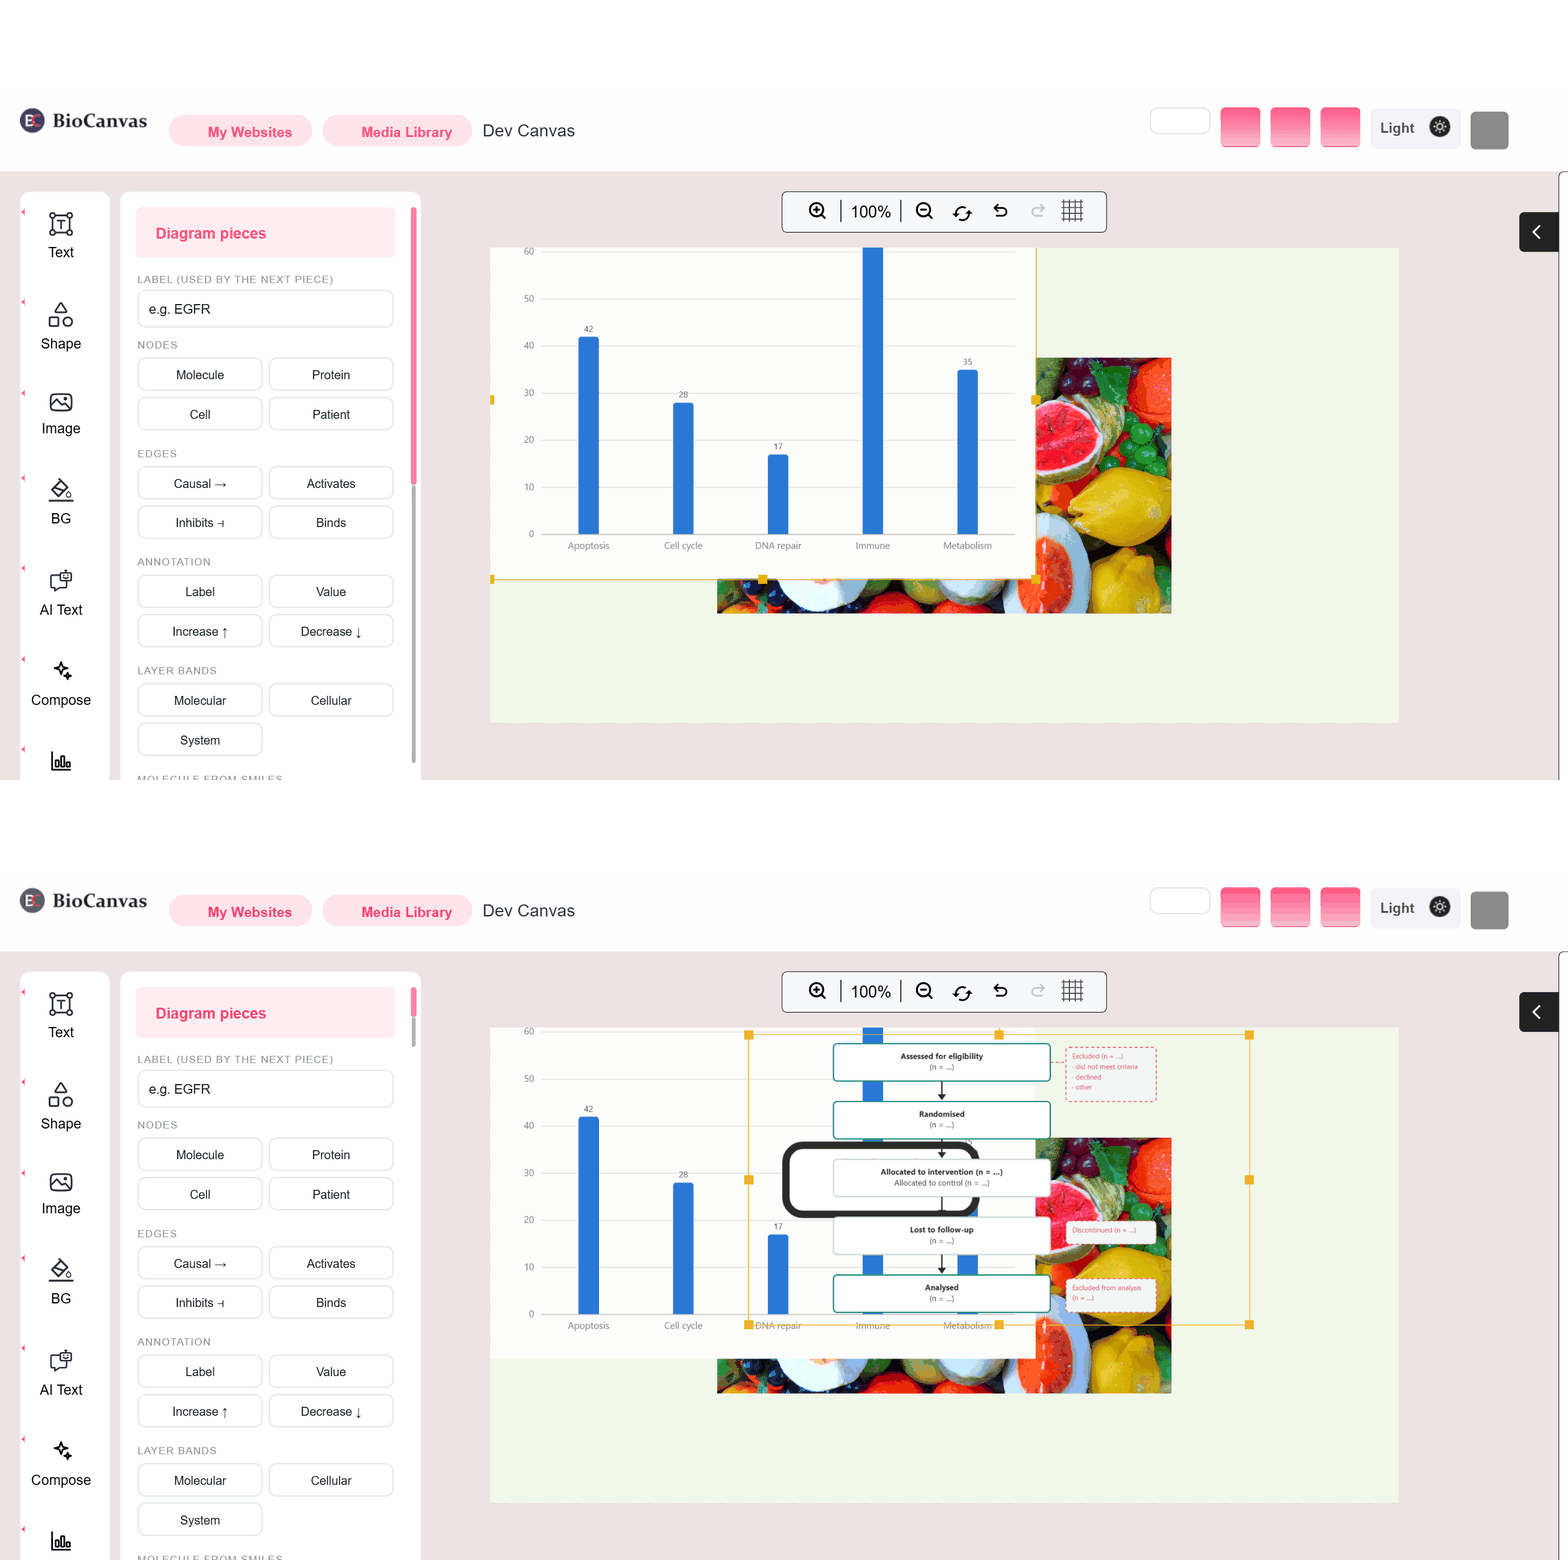
Build flow diagrams — pathway maps, CONSORT-style participant flow, mechanism diagrams — from ready-made nodes and connectors, or drop in a one-click structural diagram like a CONSORT flow and edit its labels.
Match style
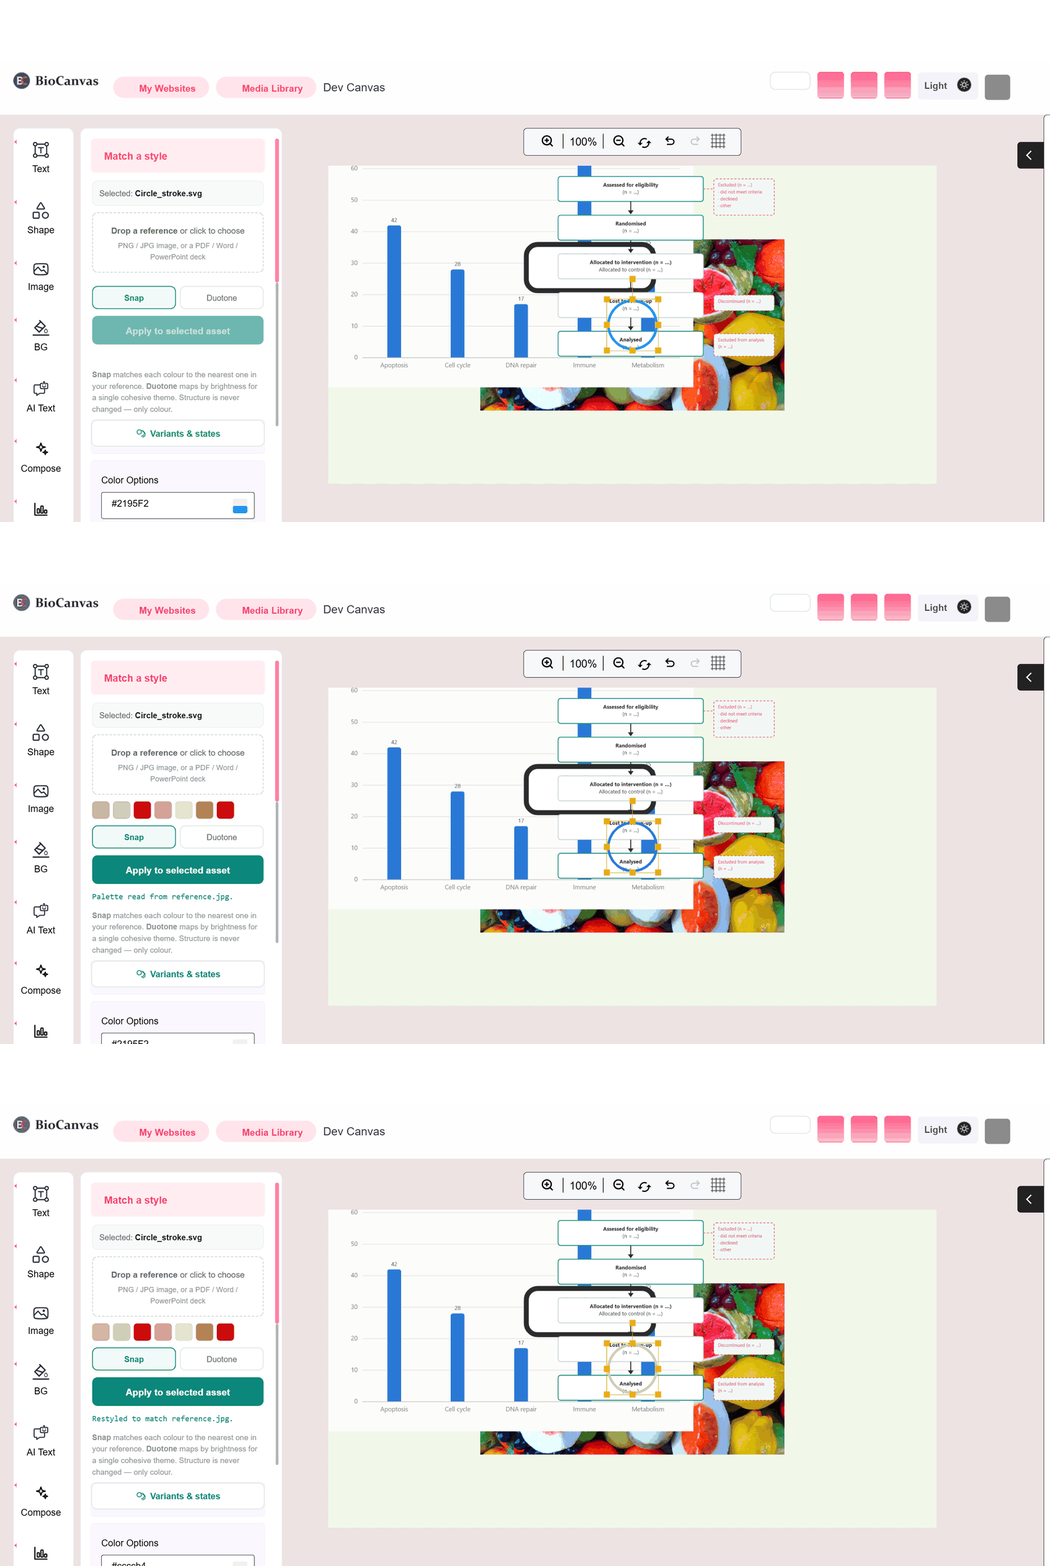
Have a reference figure — a published paper, a lab style guide — you need to match? Match style lifts the colour palette from a reference image and applies it to elements already on your canvas, so a figure drawn from the library can still land looking consistent with the rest of a manuscript.
Overlay
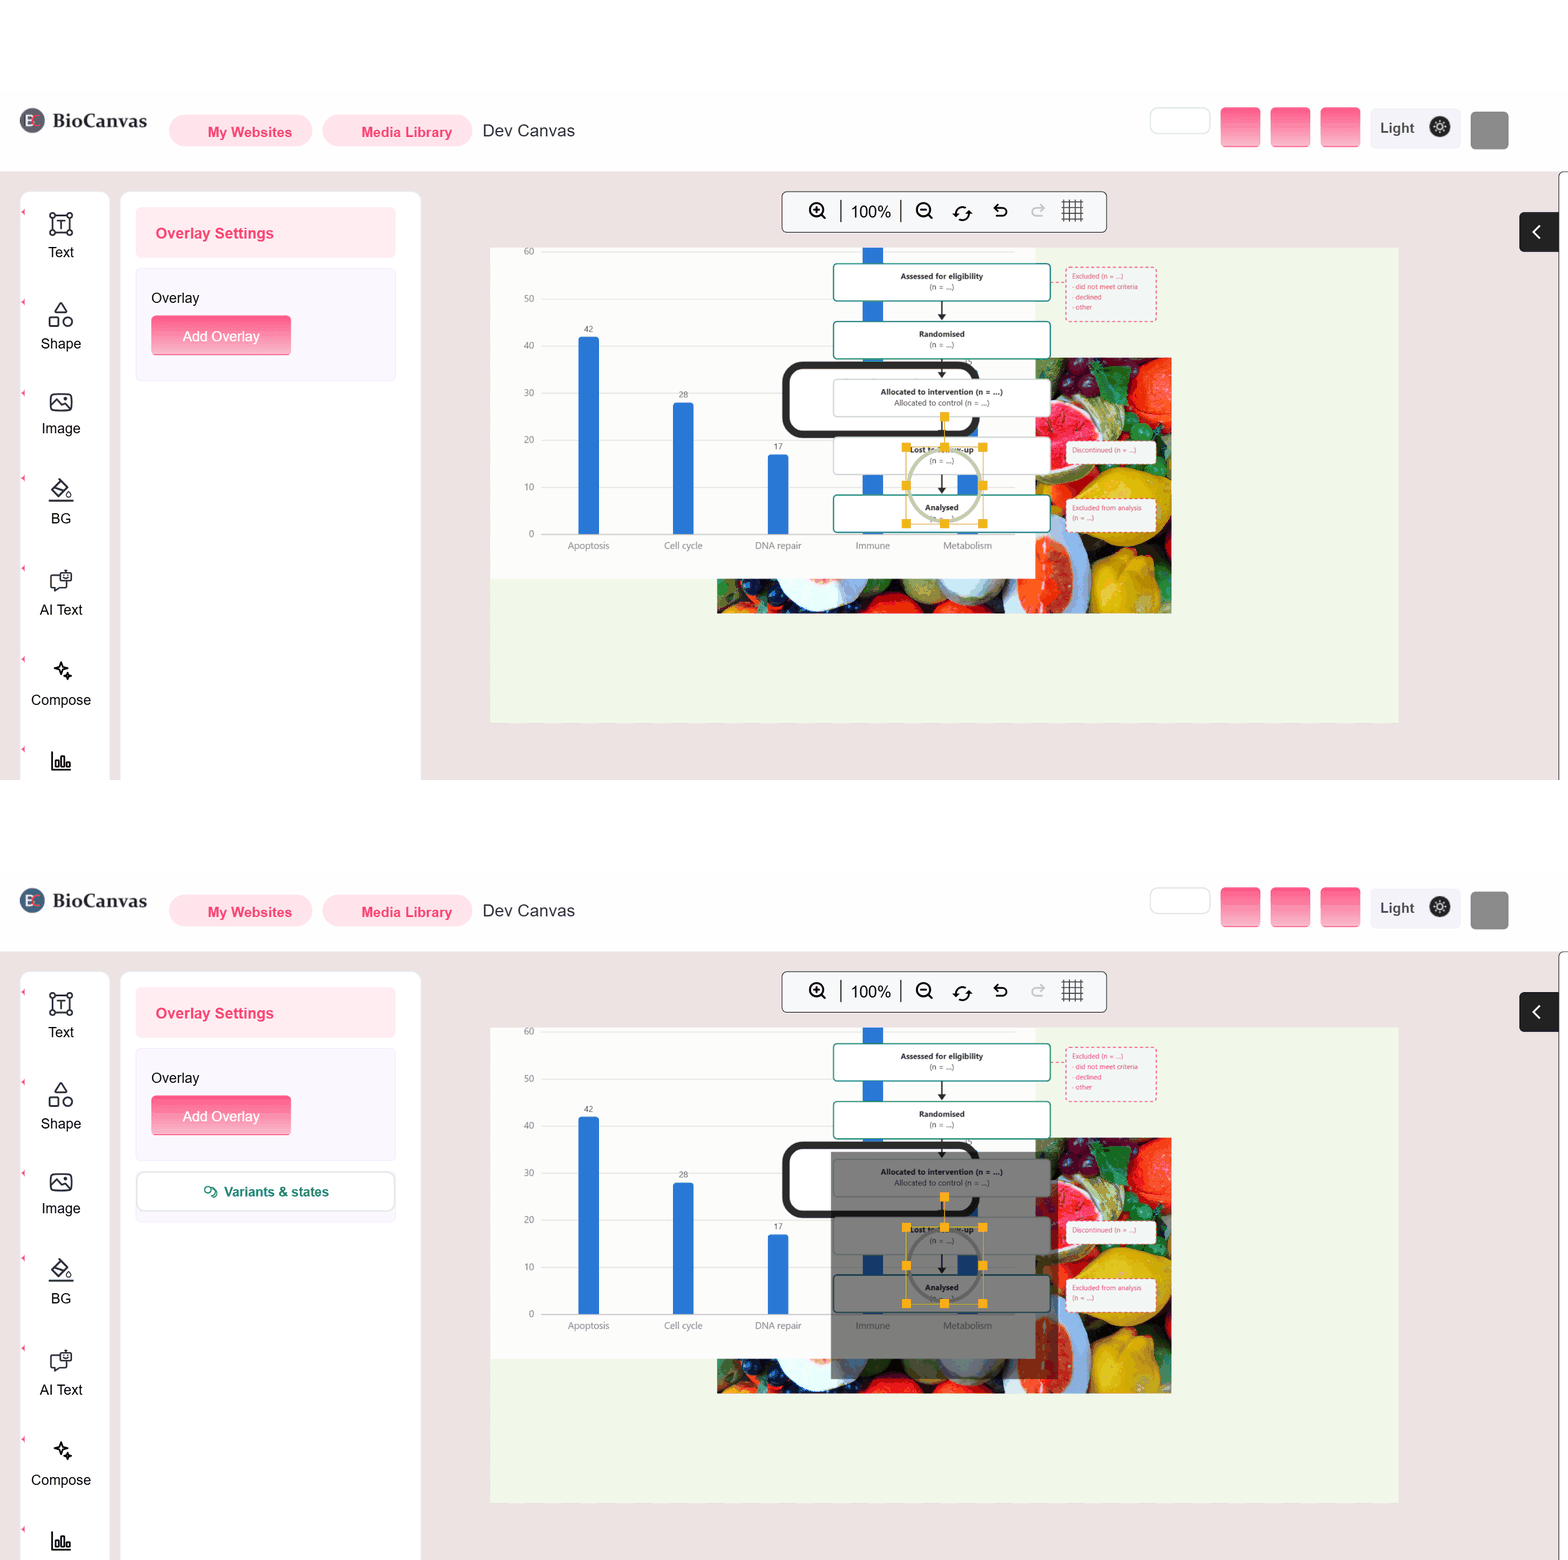
Add annotation layers on top of your figure — arrows, highlight boxes, call-out labels — without disturbing the content underneath. Useful for marking up a figure for a reviewer or a talk.
YouTube thumbnail
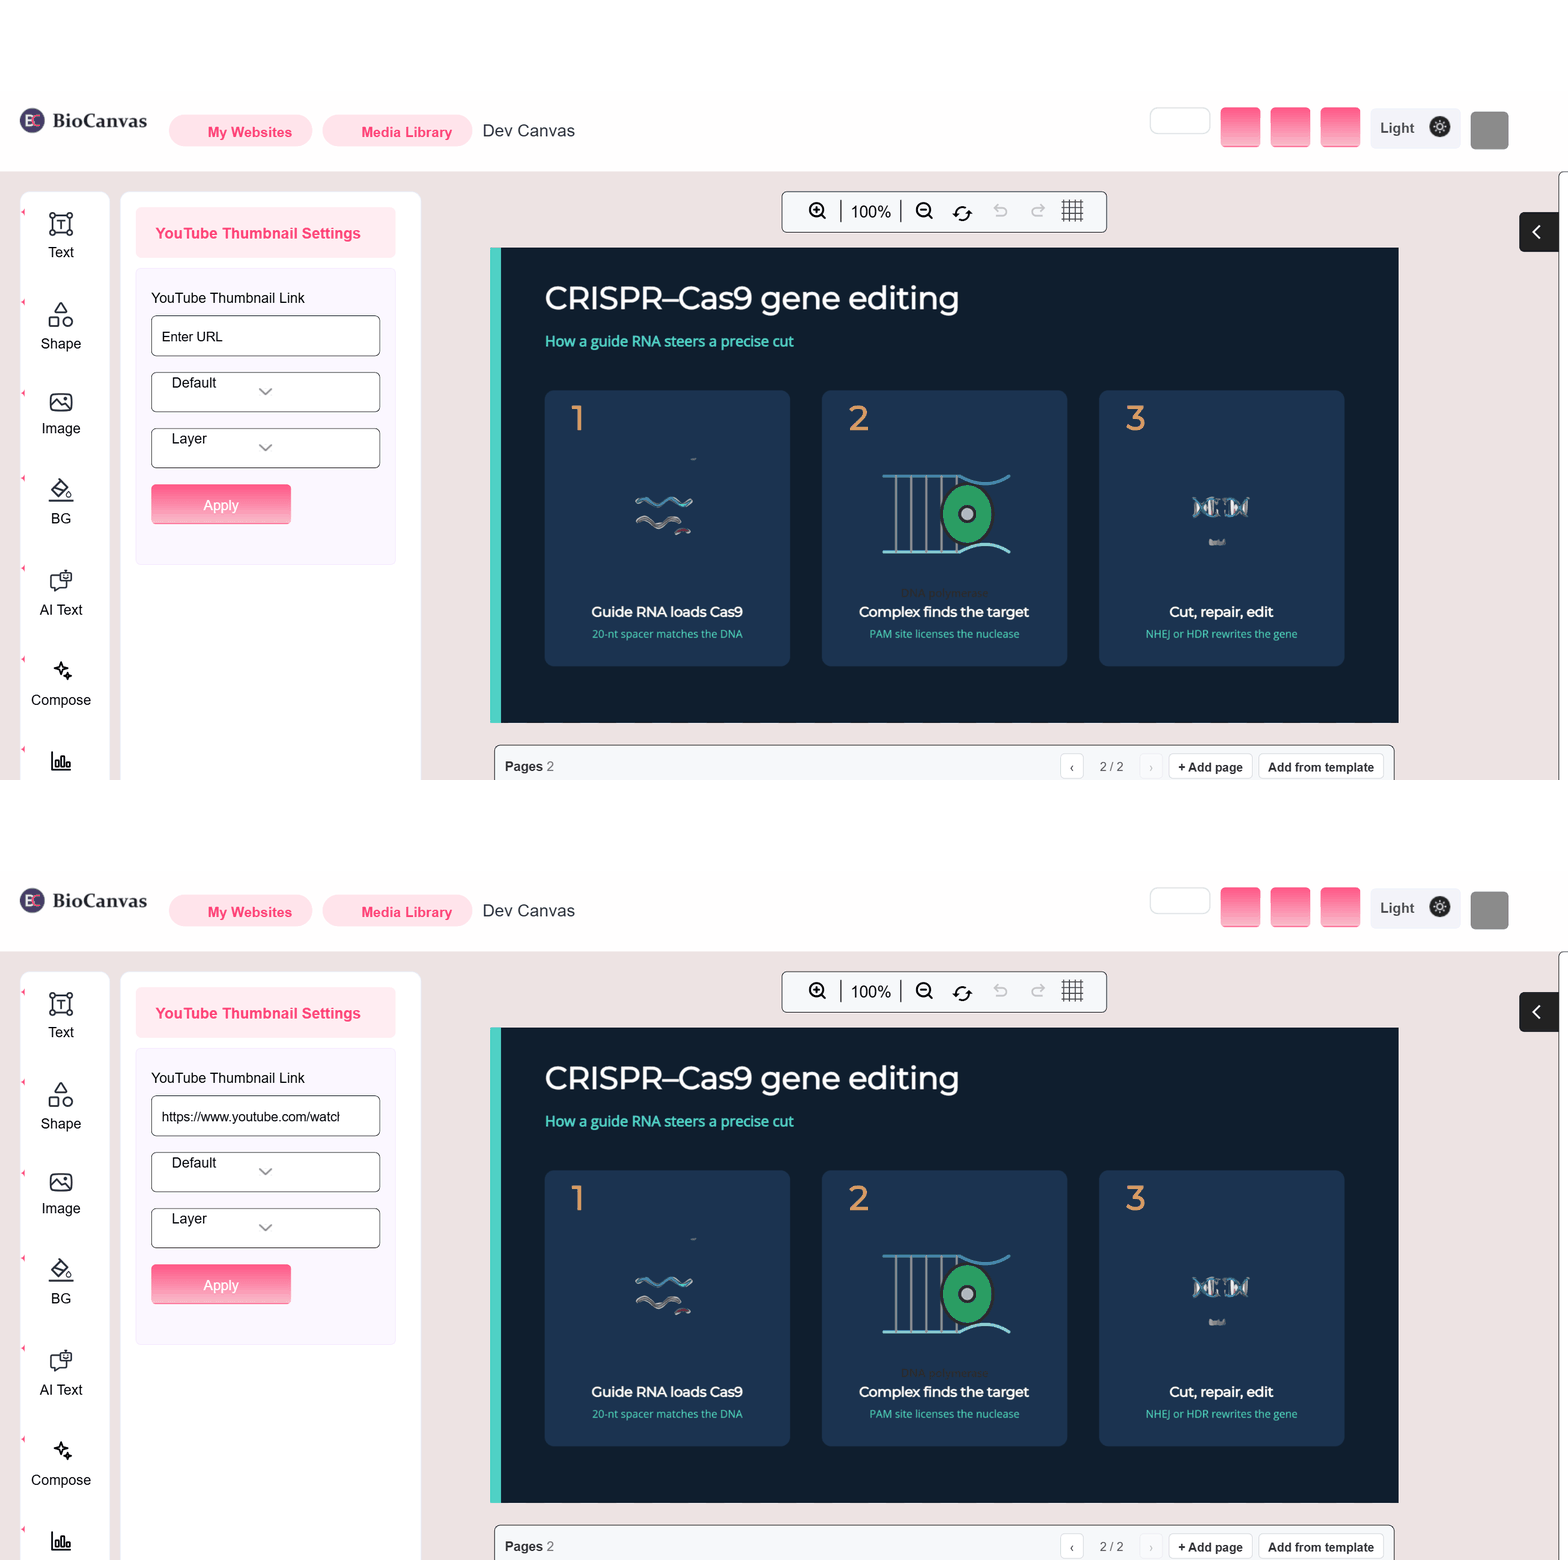
Paste a YouTube video URL to pull that video's actual thumbnail image onto the canvas — a fast way to build a companion graphic or a "now on YouTube" card around a lab talk or demo you've already published. Requires a YouTube API key configured by your workspace admin.
Pages
A single project can hold multiple pages — panels of a multi-part figure, or slides of a short deck. Use + Add page for a blank one, or Add from template to start the new page from a layout. Reorder pages from the page strip at the bottom of the canvas.
Export
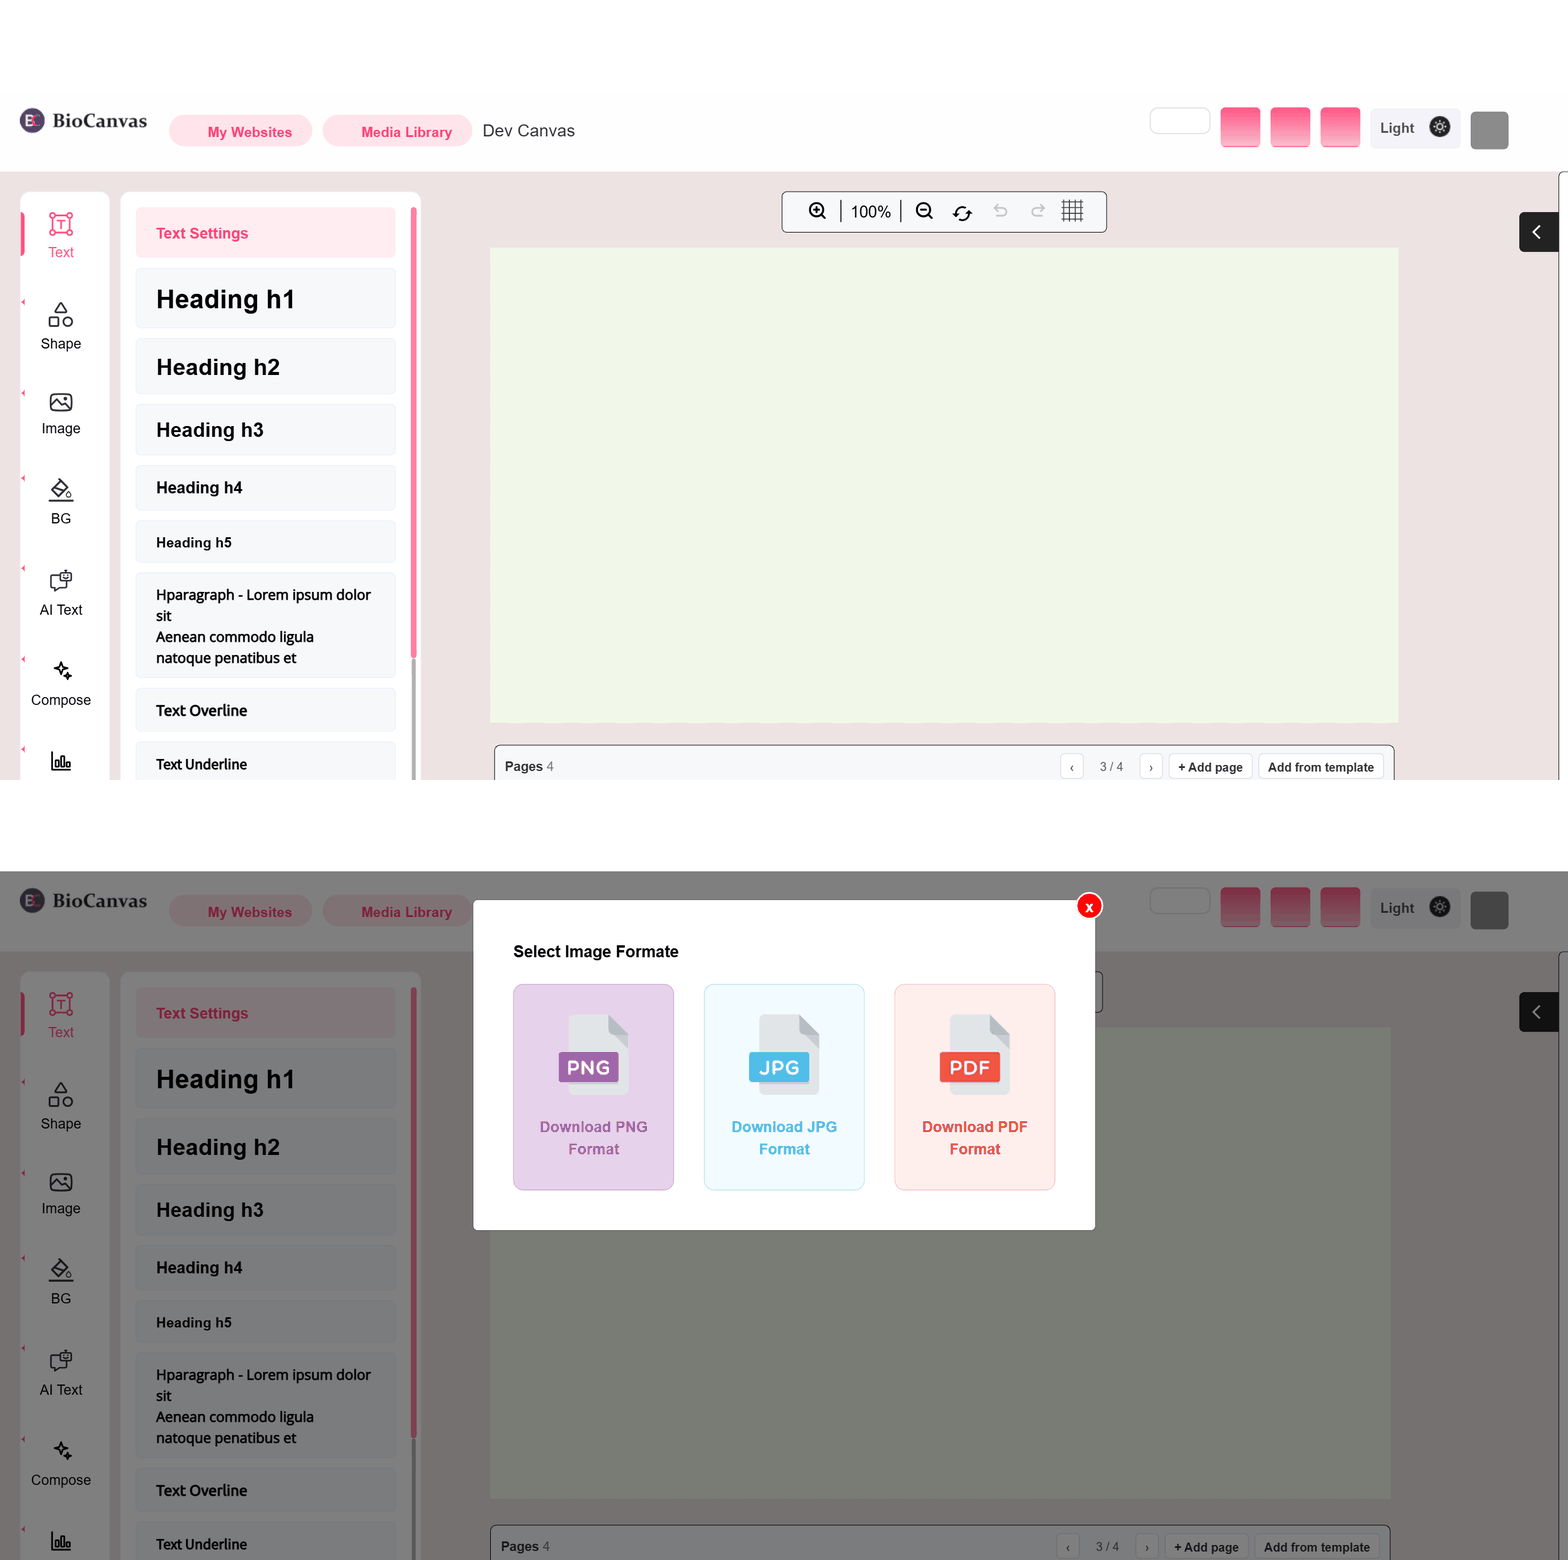
The download icon in the header opens the export dialog: PNG, JPG, or PDF, at the resolution you need for a journal submission, a poster print, or a quick web share.
Account & saving
Save icon in the header saves your project at any point — nothing is lost between sessions. My Websites in the top-left is your project dashboard; Media Library holds everything you've uploaded, across every project.